
My neighbor texted me last week at 11 p.m. in full panic Mode. His laptop had frozen on some inscrutable error message just before a huge presentation, and the only thing that he could think to do was beg me for help. “Just tell me how to screenshot on windows so I can send this to the IT guy,” he implored. I talked him through it in thirty seconds, and the relief in his voice was palpable. That little moment lingered in my mind. We all use Windows every single day, and yet something as basic as capturing what’s on our screen still seems mysterious and complicated when we actually need it.
If you’ve ever found yourself there — staring at the keyboard, trying to figure out what magical combo of letters will finally attract the exact thing you need — read on. This is not a dry list of shortcuts. It’s the kind of practical, battle-tested stuff you get from fifteen years of fixing other people’s tech headaches, documenting my own workflows, and helping non-techy friends and family members stop feeling helpless. By the end, you’ll know just how to screenshot on windows in every scenario that counts, from a two-second grab in a meeting to an annotated and polished bit of media that tells someone something useful.
Why Learning how to screenshot on windows Still Matters in 2026
Screenshots have discreetly become the Esperanto of troubleshooting. Whether you’re cross-checking software with a support person, indicating a designer to the precise button that looks off, or saving a recipe before your Wi-Fi fades away, the right screenshot is worth a thousand words. But most people only know the one or two methods they came across years ago and never evolved beyond them.
The truth? There are smarter tools in Windows that have been added quietly, and the old, reliable tricks still function effectively. Knowing how to screenshot on windows correctly doesn’t just save you thirty seconds — it eliminates miscommunication, cuts down email ping pong, and sometimes even saves your job when that one vital error message is gone following a reboot.
The Old-Fashioned Techniques That Never Fail
So let’s start with the basics, because they’re quick and they’re always there.
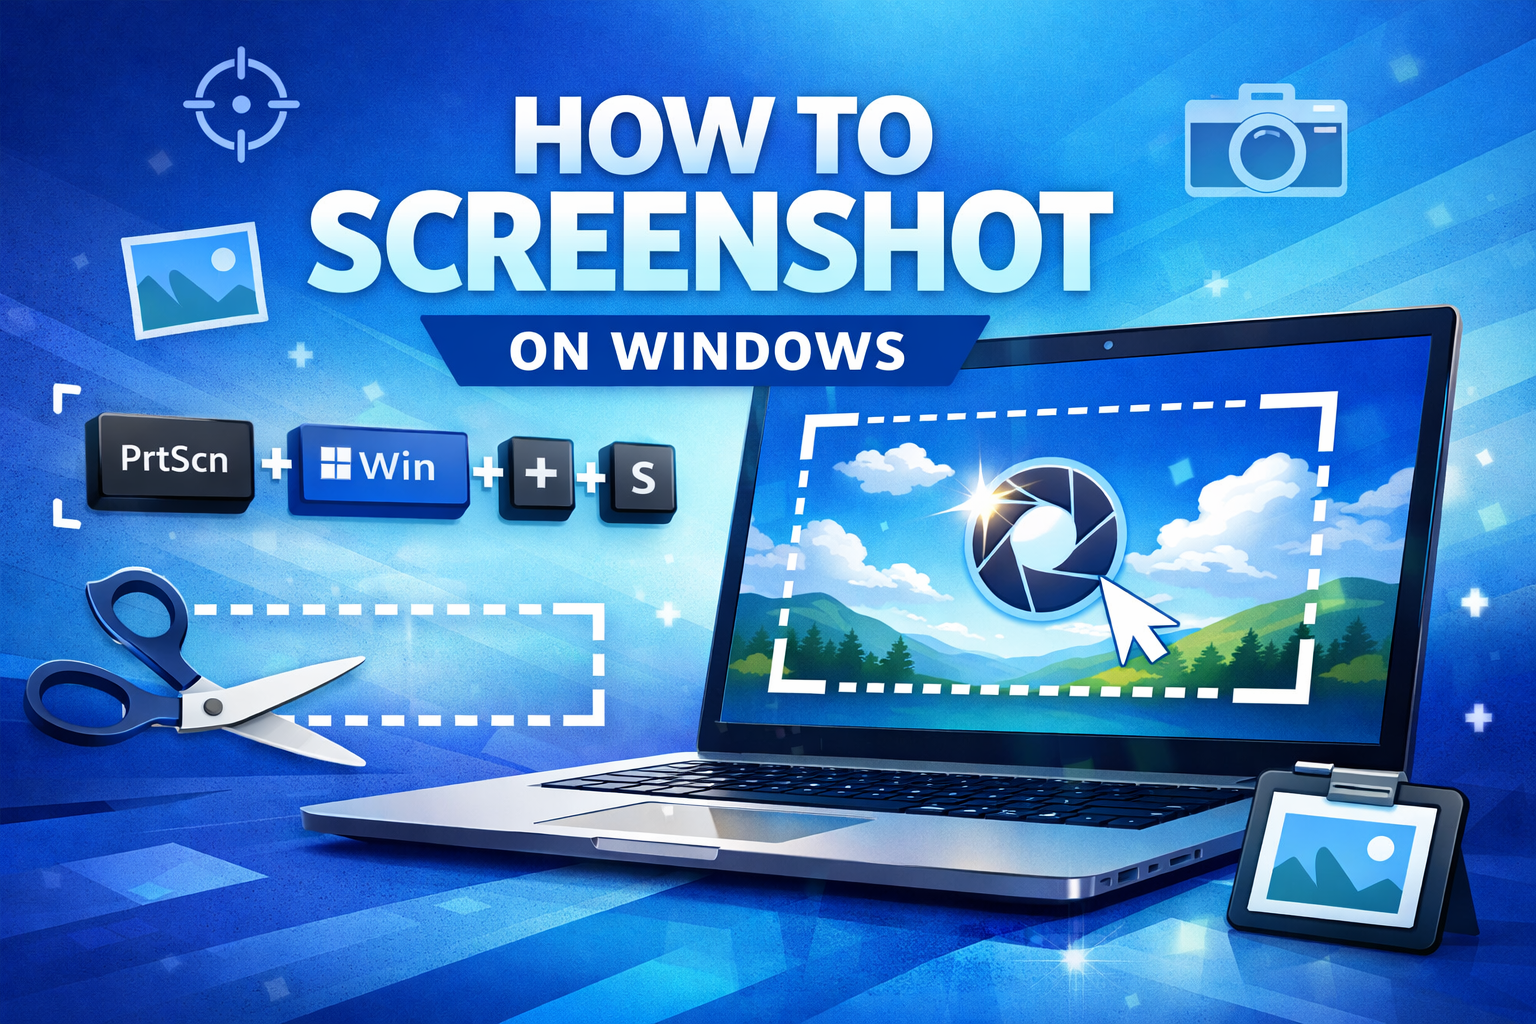
Hit PrtScn (Print Screen) and you’ve copied your entire screen to your clipboard. Nothing automatically saves, which is helpful if you want to paste directly into Slack, email, or Word without cluttering your desktop with files. I still use this if I’m midway through a call and need to drop a visual into chat in no time.
Want only the active window? Alt + PrtScn is your friend. This one helped me out so many times when I was documenting complex Excel formulas and didn’t want the taskbar or browser tabs in the shot.
The actual game-changer most don’t realize: Windows key + PrtScn. This will save a full-screen PNG directly to your Pictures > Screenshots folder. No clipboard, no extra steps. There’s also the “Where did my screenshot go?” question, so I always tell new Windows users to memorize this one first. panic entirely.
The Modern Way: Windows + Shift + S (The One You’ll Use 90% of the Time)
If I could teach you one way to take a screenshot on Windows today, it’s this.
Hit Windows + Shift + S, and the screen dims. Your cursor becomes a crosshair. Drag to select any rectangular area, or pick one of the four modes at the top: rectangular, freeform, window, or full screen. The capture goes directly to the clipboard, and a notification appears so you can quickly edit, save, or share it.
Since Windows 10 version 1809, I’ve been stuck on this method and haven’t looked back. It’s as fast or faster than reaching for a mouse to open an app.” My wife, a teacher, uses it all the Time to showcase student work on her shared screen without leaving the Zoom window. That’s the sort of frictionless experience Microsoft finally got right.
Snipping Tool (Now Just Snipping Tool Again) For When You Need More Control
Windows 11 brought back the Snipping Tool as the default hero app, and to be frank, it’s a hell of a lot better than before. Search the Start menu to find it, or pin it —your choice.
There, you get the same four capture modes, plus a useful delay timer (3 or 10 seconds), plus inside. That timer is precious for grabbing dropdown menus or ephemeral tooltips that disappear as soon as you move the mouse. I’ve used the 10-second delay countless times when filing bugs against software that only misbehaves after a specific hover.
The built-in editor allows you to crop, annotate with pen or highlighter, erase, and even text. You can export as PNG, JPEG, or to the clipboard. It’s not Photoshop, but for 95% of people’s real-world requirements, it’s really all you want.
Game Bar: Not Just for Gamers
Press Windows + G to open the Xbox Game Bar; click the camera icon (or memorize Windows + Alt + PrtScn) to instantly save a screenshot of the active game or app to your Videos > Captures folder.
Even if you never play games, this is great for full-screen apps like Netflix to watch projects (Spotify in full-screen Mode) or design software where normal shortcuts get hijacked. Game Bar also captures video if you ever want to capture motion rather than a static shot — something the standard solutions still don’t handle gracefully.
The Right Way To Capture Scrolling Content
This is where built-in tools hit a wall. Standard screenshots only capture what’s on the screen. You have a couple of solid options for long web pages, chat histories, or research papers.
Try the Snipping Tool’s “Scrolling capture” in Windows 11 first (it’s buried under a three-dot menu in some builds). For most websites, it works well. If that’s not enough, I’ve been recommending ShareX or PicPick for years—they’re both free, lightweight programs, and they can capture even infinite scrolls without breaking a sweat.
I spent 20 minutes manually joining 5 screenshots for a client report. Never again. Get the scrolling method early and thank me later.
Step 3: Giving Your Screenshots a Professional Finish
The first step is to go through the whole shoot. The real magic happens in the edit.
For simple arrows, text, and blurs, use the built-in snipping tool editor.
For any more serious graphics work, paste into the Photos app or Paint. Paint still gets hate, but the 2024 update actually made it useful with layers and better transparency.
My secret weapon? OneNote. Paste in the screenshot, mark it up right on top, and even if you handwrite notes, the search function can read your handwriting afterward. Perfect for meeting notes.
Always blur sensitive info—passwords, private emails, clients’ names—before sharing. I’ve already seen too many “oops” moments in team Slack channels.
Tips and Tricks Most Guides Leave Out
Here are the ones I use regularly, every week:
Windows + Alt + PrtScn (Game Bar quick capture)
Screenshot (included in the clipboard) -> Alt + PrtScn On Teams, with instant paste
Shift-drag in Snip & Sketch to make straight lines while annotating
Hit Windows + Shift + S and then press Ctrl + V in any program—the new capture is pasted without ever having to touch the mouse.
Windows + PrtScn takes a screenshot of all your displays simultaneously
And my favorite workflow hack: if you need pixel-perfect crops, use PowerToys “Screen Ruler” or “FancyZones” shortcut. Microsoft’s free PowerToys suite has, without fanfare, become the power-user’s best friend.
Top Problems Faced with solutions to overcome them instantly
“Can’t find my screenshot” → First check Pictures > Screenshots, then Videos > Captures. Still missing? It likely copied to the clipboard—open Paint and press Ctrl + V.
“PrtScn does nothing.” → This is typically a laptop Fn key problem. Try Fn + PrtScn or check some keyboard settings.
“Screenshot looks blurry.” → Windows is scaling. Save the image by right-clicking, clicking, then clicking Properties > Details, and ensure it’s at native resolution. Or go for the shot at 100% scaling.
When to Move Beyond Built-In Tools
Windows’ native options are now excellent for most people. But if you take dozens of screenshots every day — as writers, developers, or customer-support heroes do — then apps like ShareX, Greenshot, or Lightshot add features that are curiously addictive: auto uploads to Imgur, OCR text extraction, customizable workflows, and naming templates.
My choice is ShareX, which is open source and does its thing without pestering me to upgrade. Try one for a week, and you’ll wonder how you ever got by without it.
Learning how to screenshot on windows isn’t a matter of memorizing every shortcut in the universe. It’s about the right tool coming to muscle memory exactly when you need it. From Windows + Shift + S ioutil. Now practice it three times. Then tomorrow, your new habit will be the auto-save Windows + PrtScn. In a week, you won’t even think about doing it—you’ll do it.
And the next Time a friend or colleague reaches out at 11 p.m. to get help because something on their screen is broken, you will be THE calm voice saying, “I’ve got you — let me show you the easiest way.”
That feels good.
You may also read routertool.